Instructions
Clone the application code we will be using in this workshop and change into the directory created:
git clone https://github.com/heroku-reference-apps/openapi-fastify-jwt
cd openapi-fastify-jwt
💡 Note: Ignore the instructions in the
READMEfile; those are included in this workshop.Create a Heroku application, replacing the
<username>and<your-enterprise-team>values in the command below according to the instructions:heroku create <username>-getting-started --team <your-enterprise-team>💡 Tip: Change
<username>to your name to use as a prefix for the app name to make it unique, for example:marcb-data-getting-started💡 Tip: For
<your-enterprise-team>, refer to your email from noreply@heroku.com inviting you to join an Enterprise team. Look for an email subject likeInvited to the "an-event-workshop" Team on Heroku.Add a Heroku Postgres database to your application by running the command below:
heroku addons:create heroku-postgresql:essential-0💡 Tip: As recommended when the above command completes, use the command
heroku addons:info <yourdatabase-name>to monitor the progress of creating your database and wait for the database to be created. This Postgres database is running in the cloud on the Heroku service.Run the following commands to execute
.sqlscripts to create some test data:heroku pg:psql -f data/create_schema.sql heroku pg:psql -f data/create_records.sqlThis database will automatically be attached to your application code once deployed.
To further interact with the database from the command line, run the following command to enter the
psqlterminal:heroku psqlEnter the following to describe the
userstable created by thecreate_schema.sqlscript above:\d users describe table;Enter the following to query the users:
select * from users;To exit the
psqlterminal, enter\q.💡 Side Bar: Your database was provisioned using AWS Aurora behind the scenes and fully managed on your behalf by Heroku. So you can now marvel in the knowledge you just deployed AWS Aurora with one command!
Deploy the application to Heroku and test the application API:
git push heroku main
heroku open
Navigate to the
/directoryAPI in the browser and clickTry it out, thenExecute. You should see the API return a list of users seeded into the database earlier.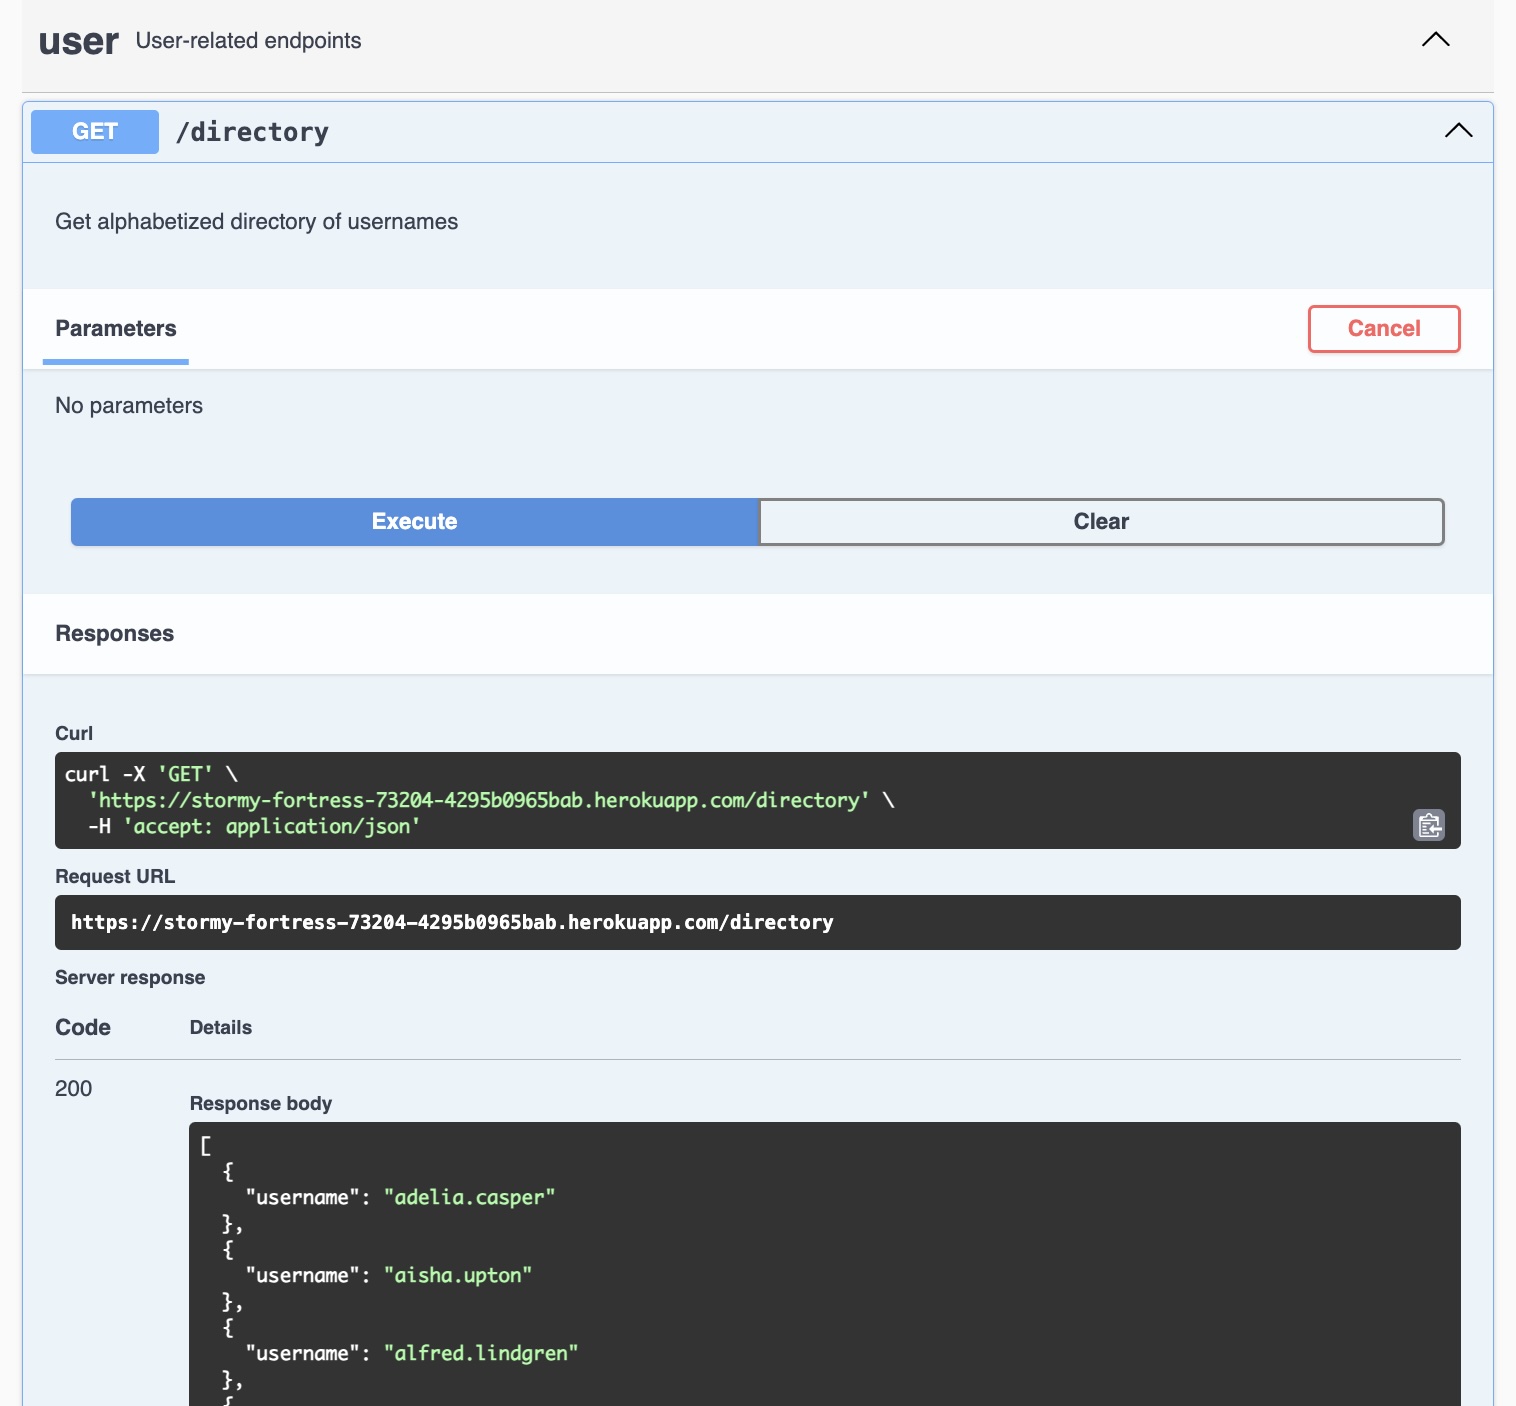
💡 Code: If you would like to see the code behind this API, review
/routes/directory.js. The web page was generated by the project including the Swagger framework.Log in to your Heroku account in your web browser and search for your application using the name you provided in step 2.

Locate the
Resourcestab and click onHeroku Postgresto open theDatastorespage for your database.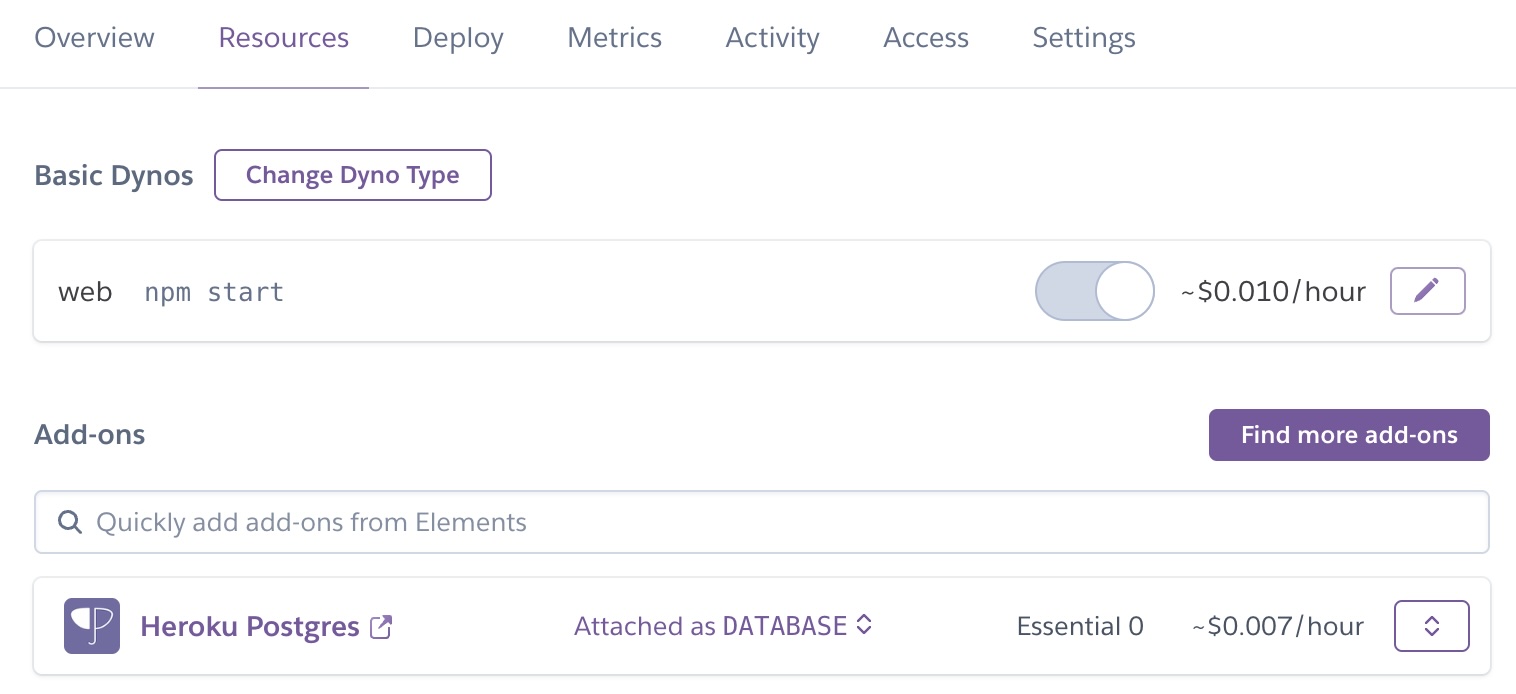
On the
Datastorespage, locate theDataclipstab and click theCreate Dataclipbutton, completing the page as shown below to run your query by clicking theSave & Runbutton.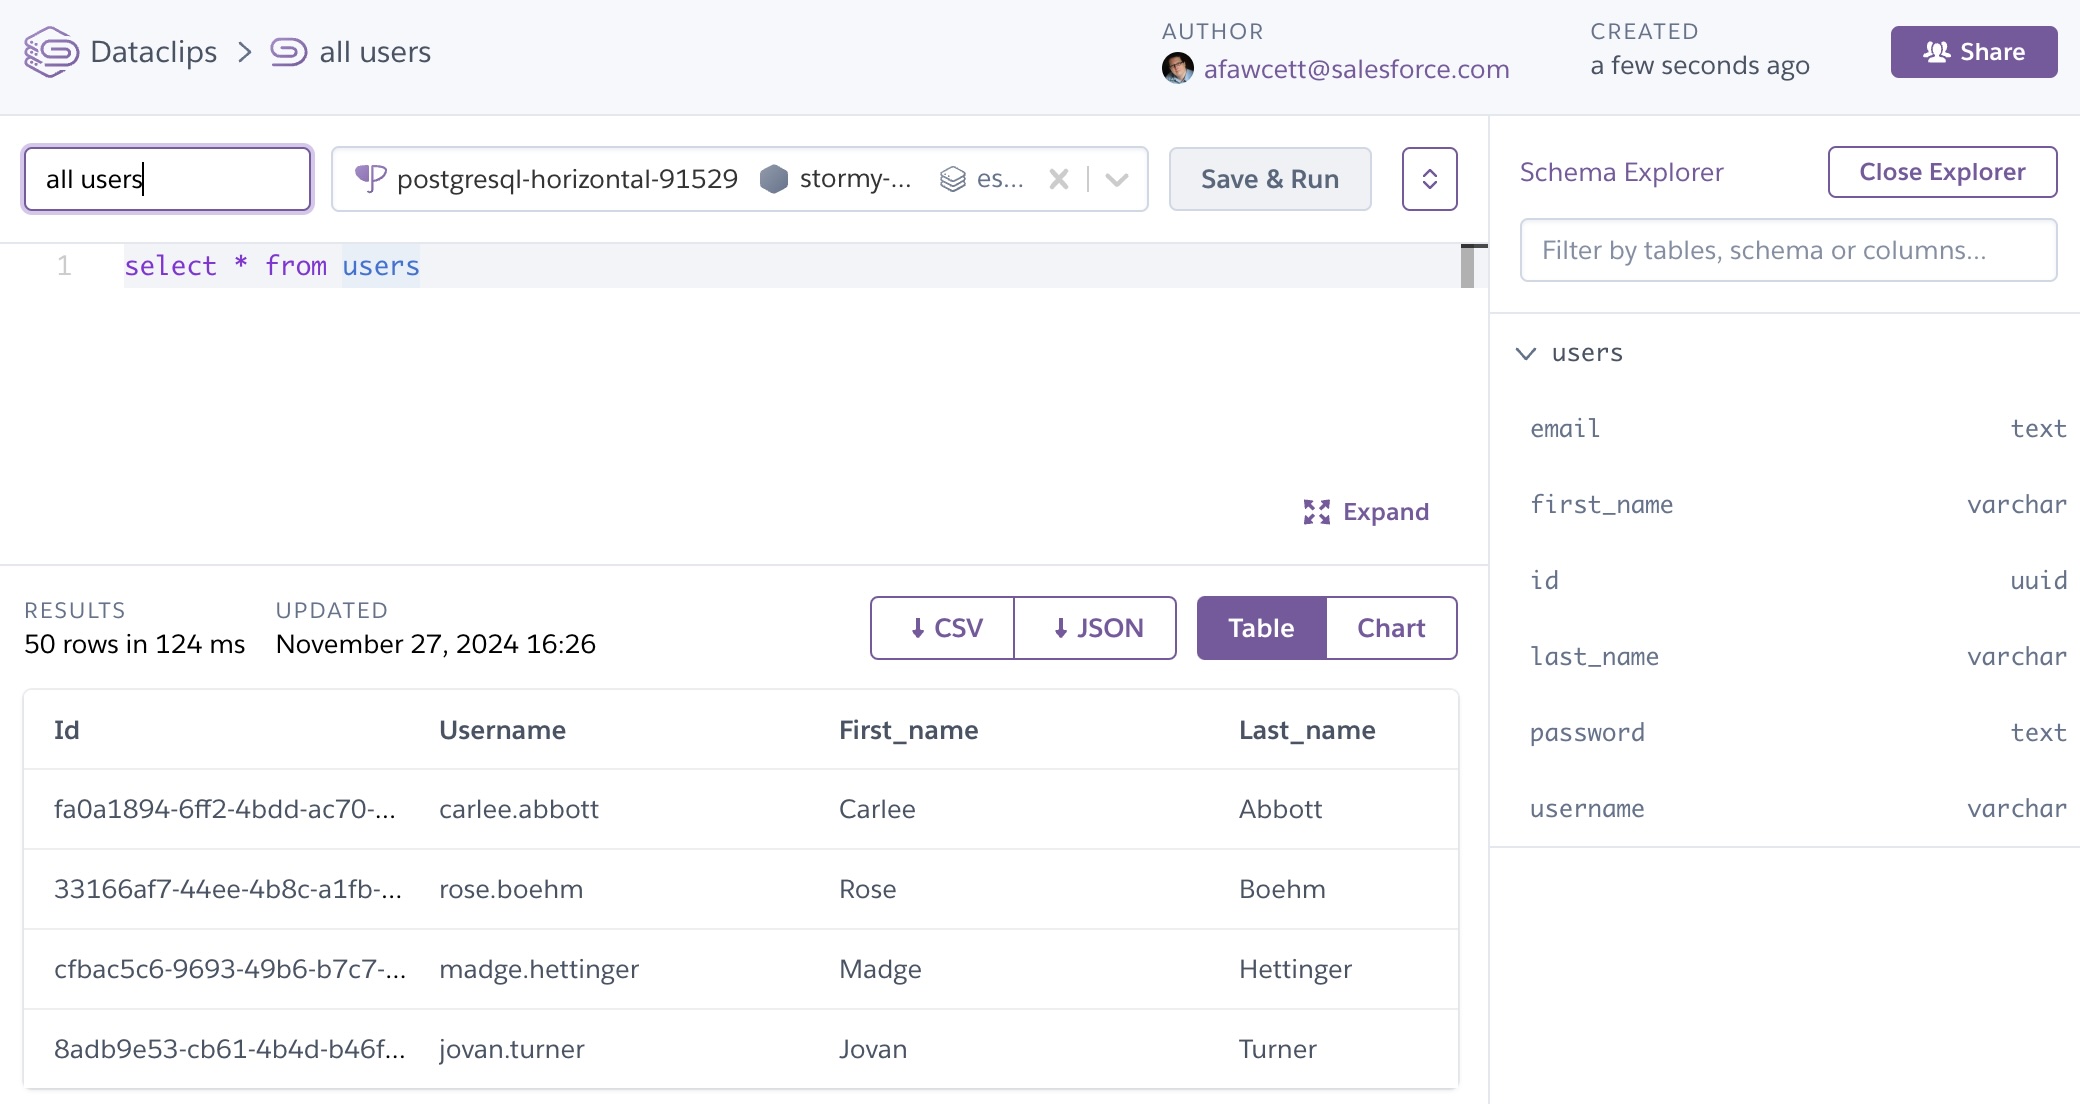
💡 Tip: You can create as many Dataclips as you like and even use the
Sharebutton to share them with others. Continue to explore and you will find you can also create graphs as well!
Congratulations! You have provisioned a Heroku Postgres database, seeded it with data, and explored that data from the command line, from the application logic, and finally using the Heroku Dataclip feature.