Instructions
Clone our Node.js getting started project and change into the directory created:
git clone https://github.com/heroku/node-js-getting-started.git
cd node-js-getting-started
Create a Heroku application, replacing the
<username>and<your-enterprise-team>values in the command below according to the instructions:heroku create <username>-getting-started --team <your-enterprise-team>💡 Tip: Change
<username>to your name to use as a prefix for the app name to make it unique, for example:bobwise-getting-started💡 Tip: For
<your-enterprise-team>, refer to your email from noreply@heroku.com inviting you to join an Enterprise team. Look for an email subject likeInvited to the "devopsday-london-workshop" Team on Heroku.Deploy and run your application:
git push heroku main
heroku open
Log in using your own Heroku credentials on the Heroku dashboard in your browser by navigating to heroku.com.
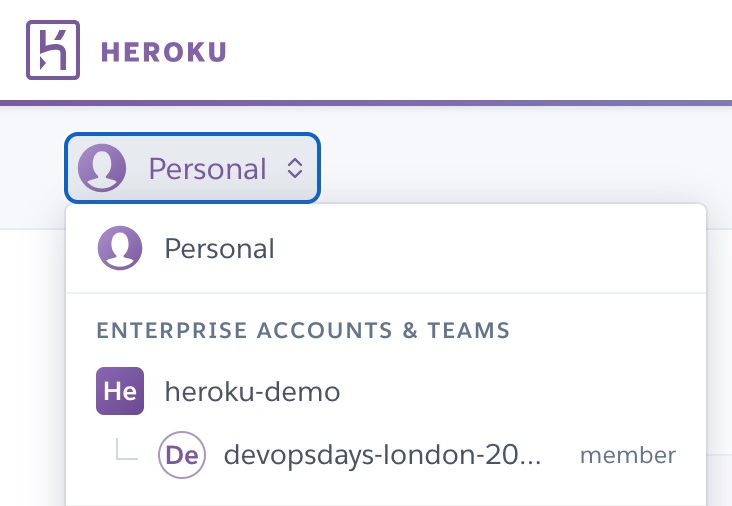
Locate the dropdown in the top right of the dashboard to select the Heroku Enterprise team you have been added to. For example:
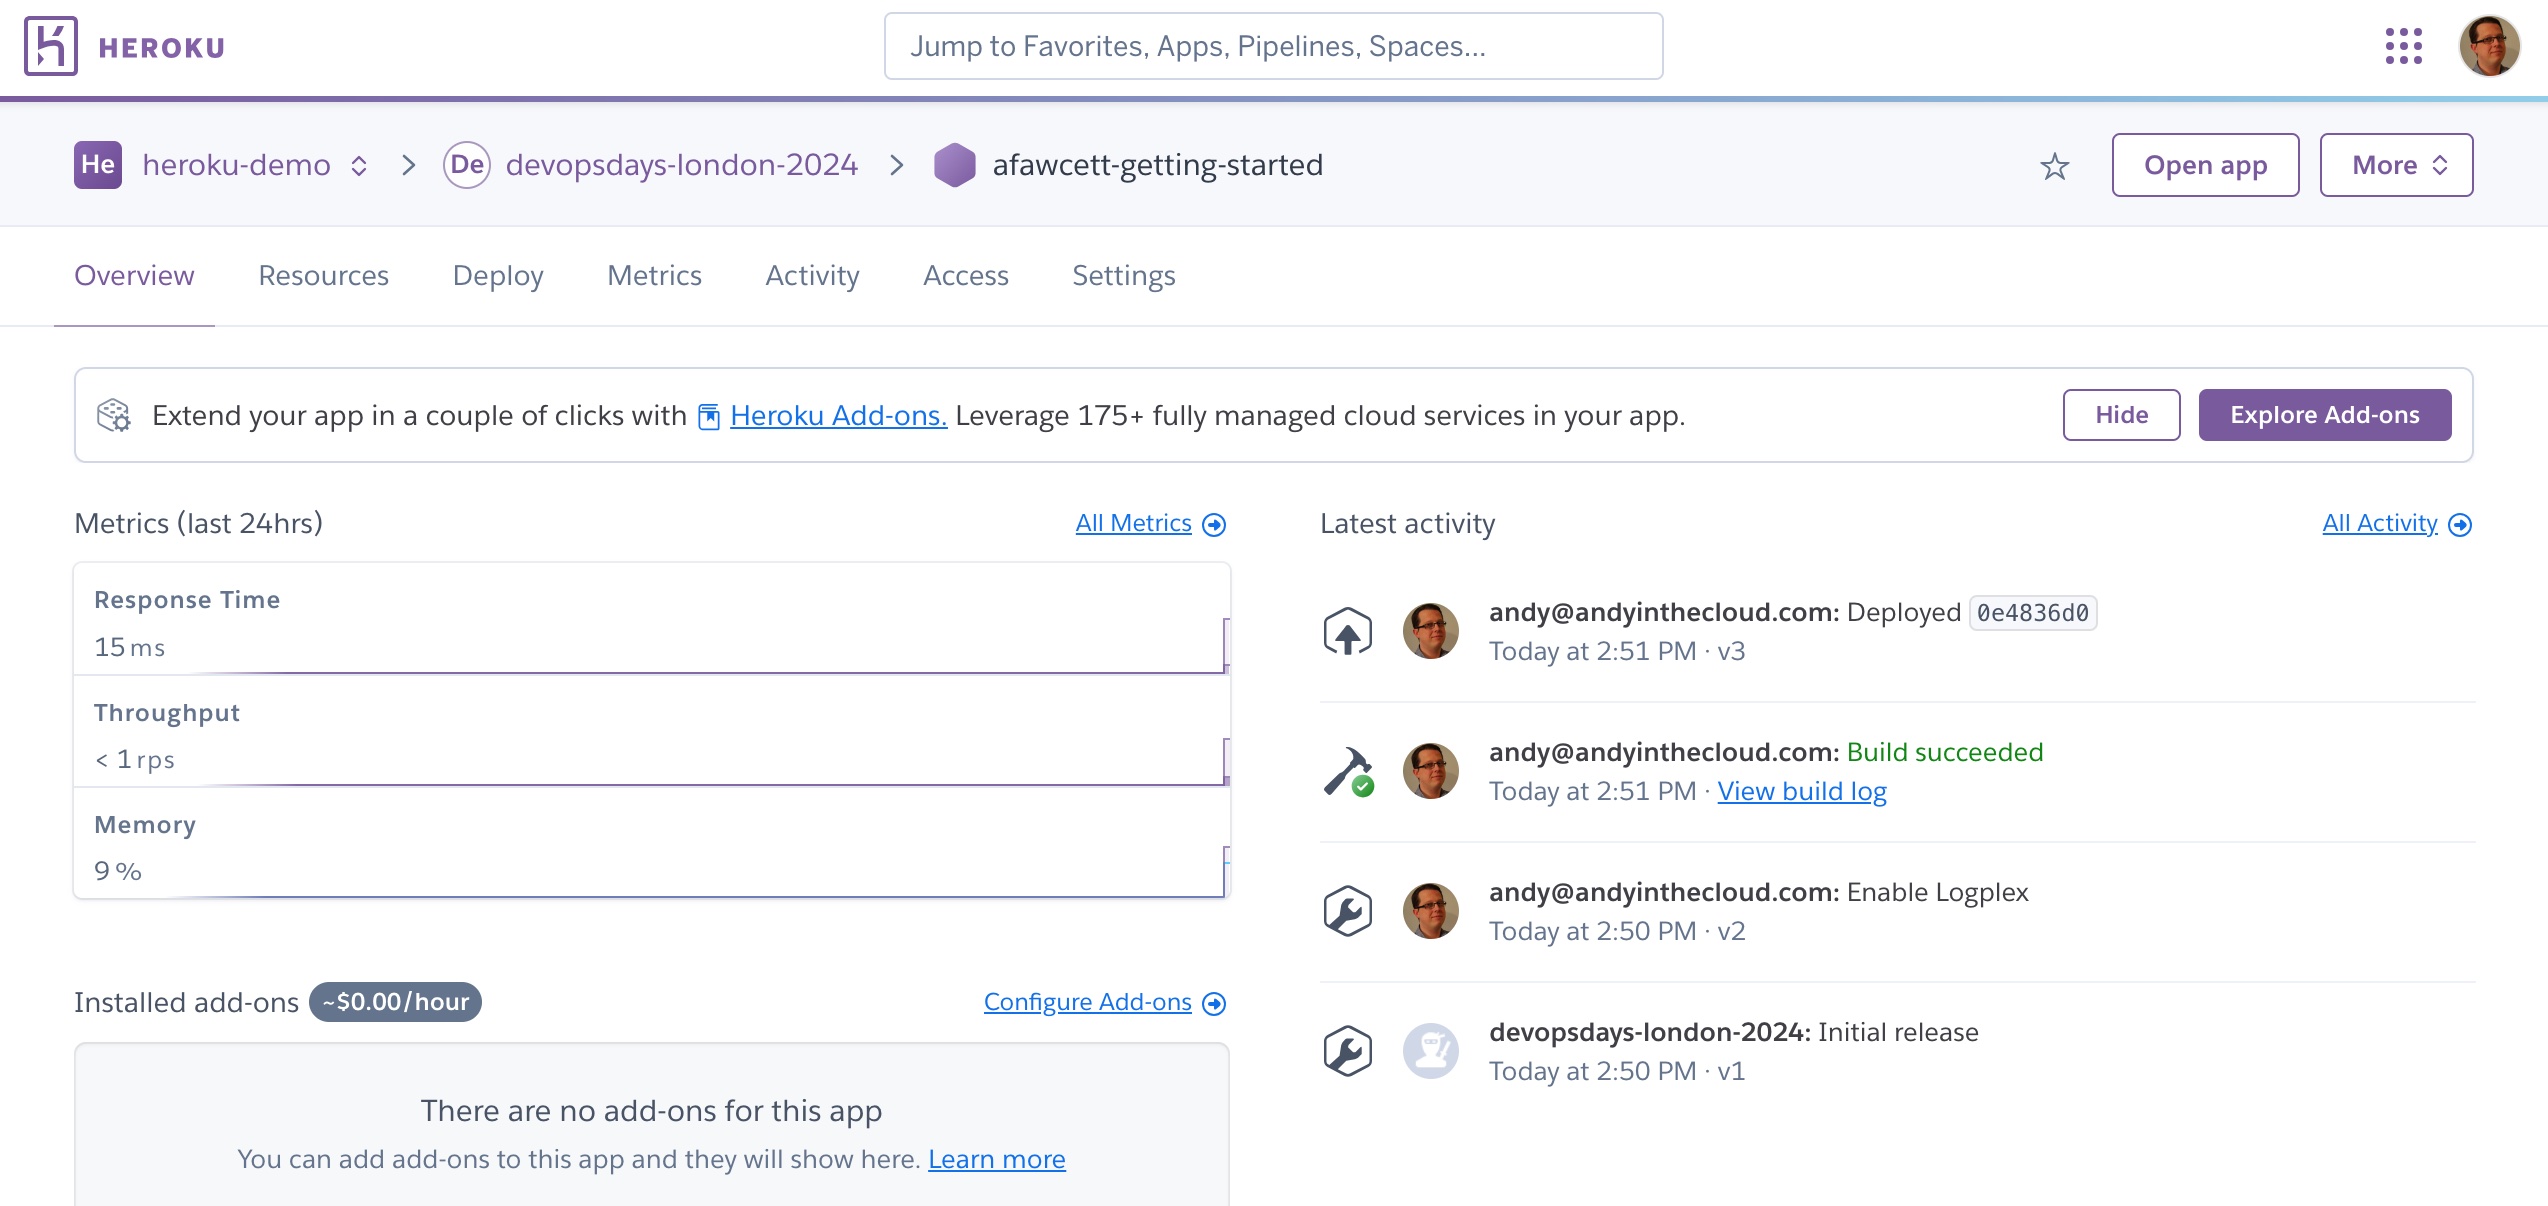
Locate your application in the list and click to open your application details in the dashboard. For example:
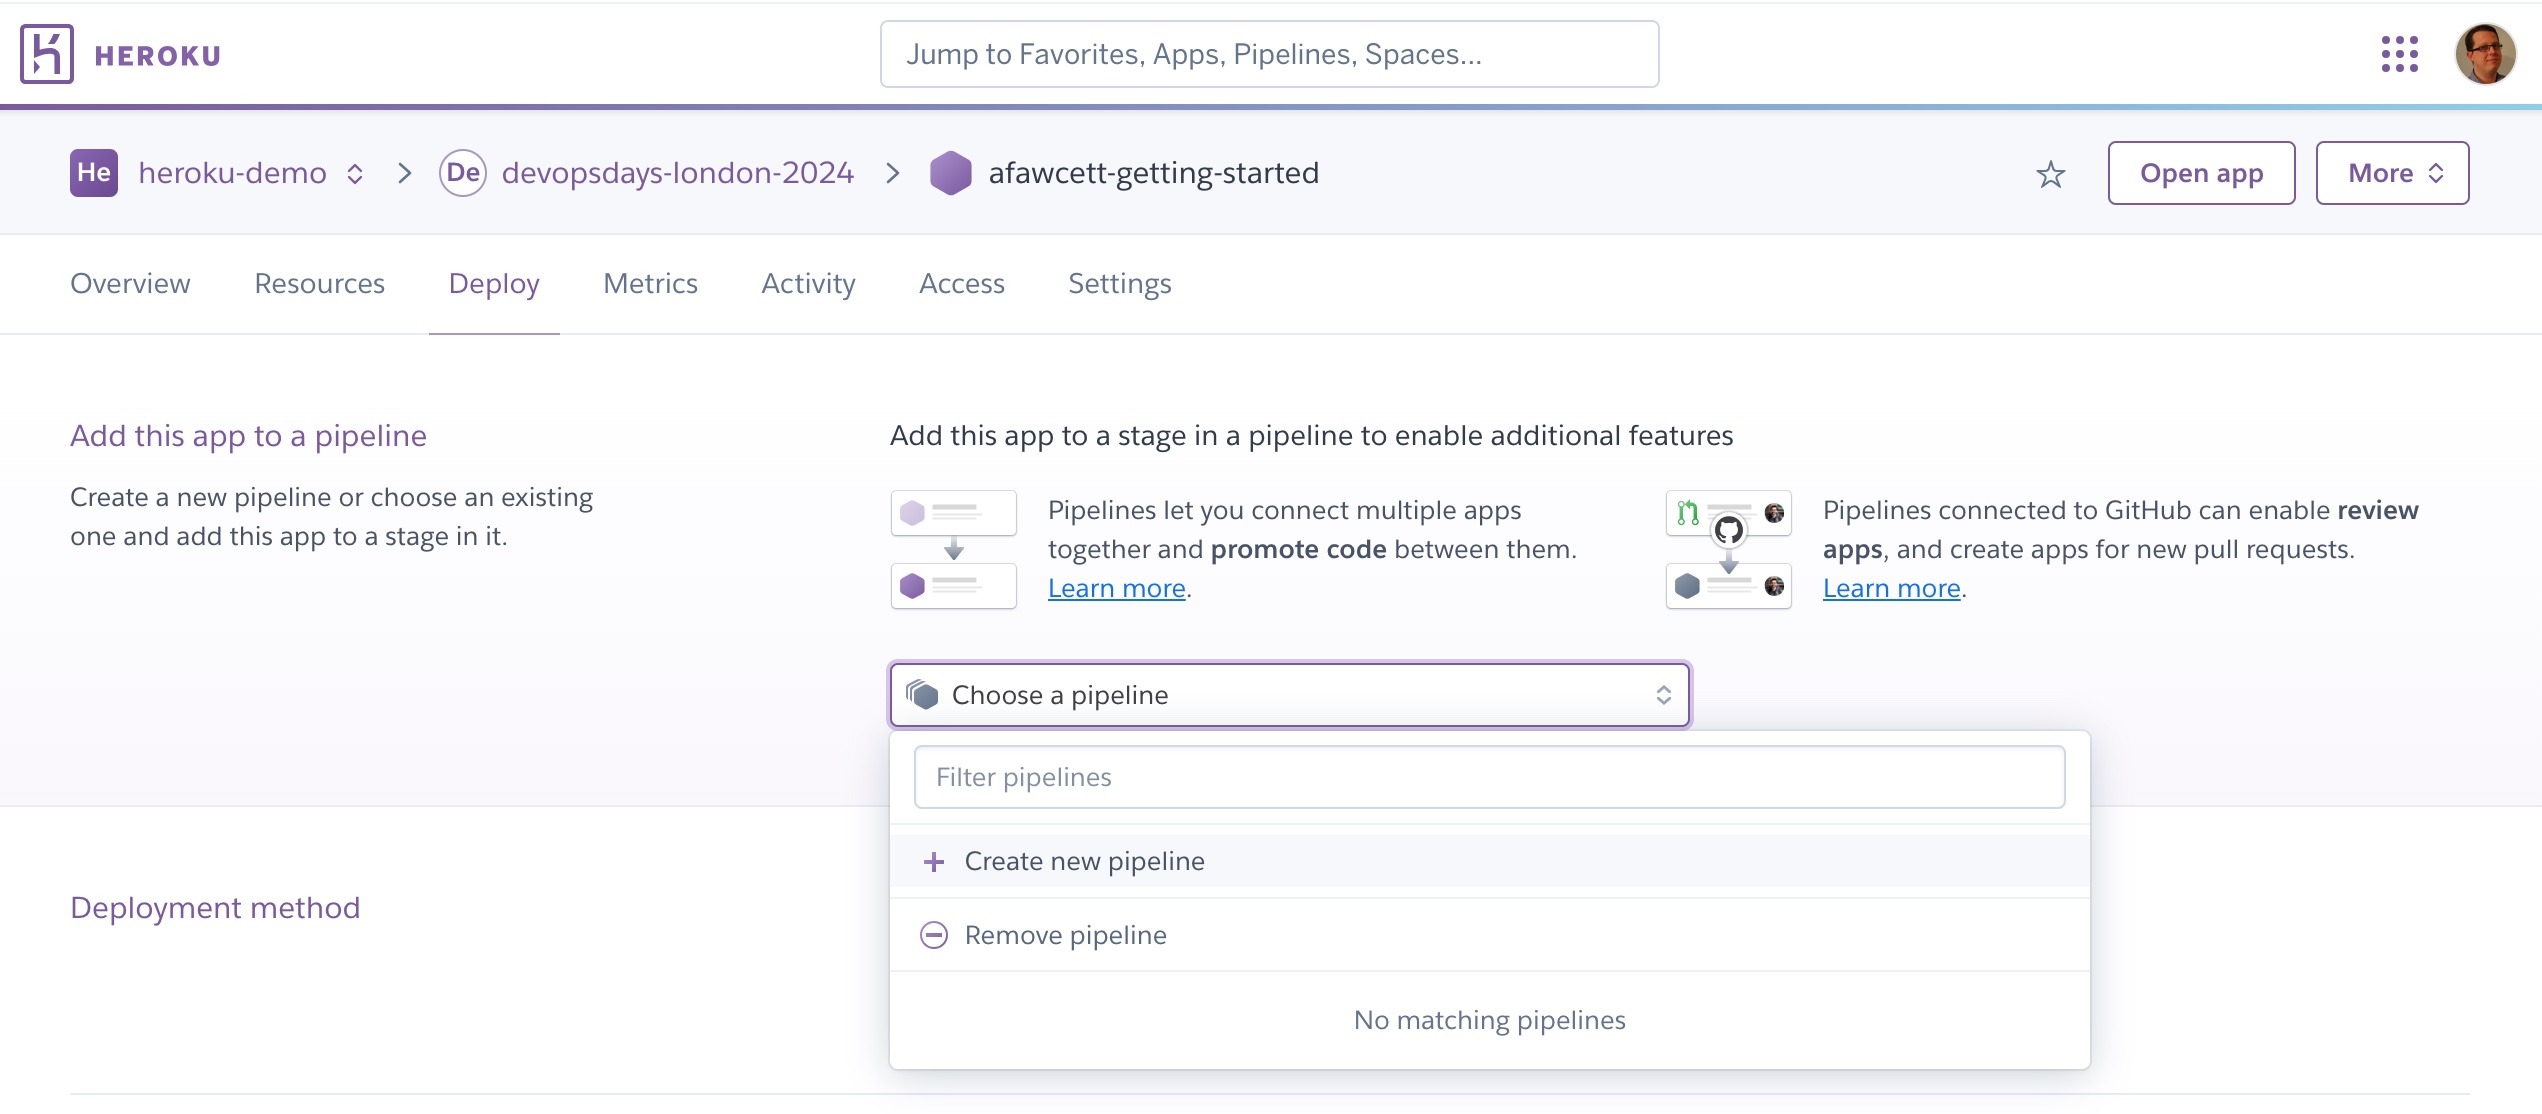
Click the Deploy tab and select Create new pipeline as shown in the image below.
Enter a name for your pipeline, reusing the name you gave your application, and click Create pipeline, leaving the default stage to add this application set to staging.
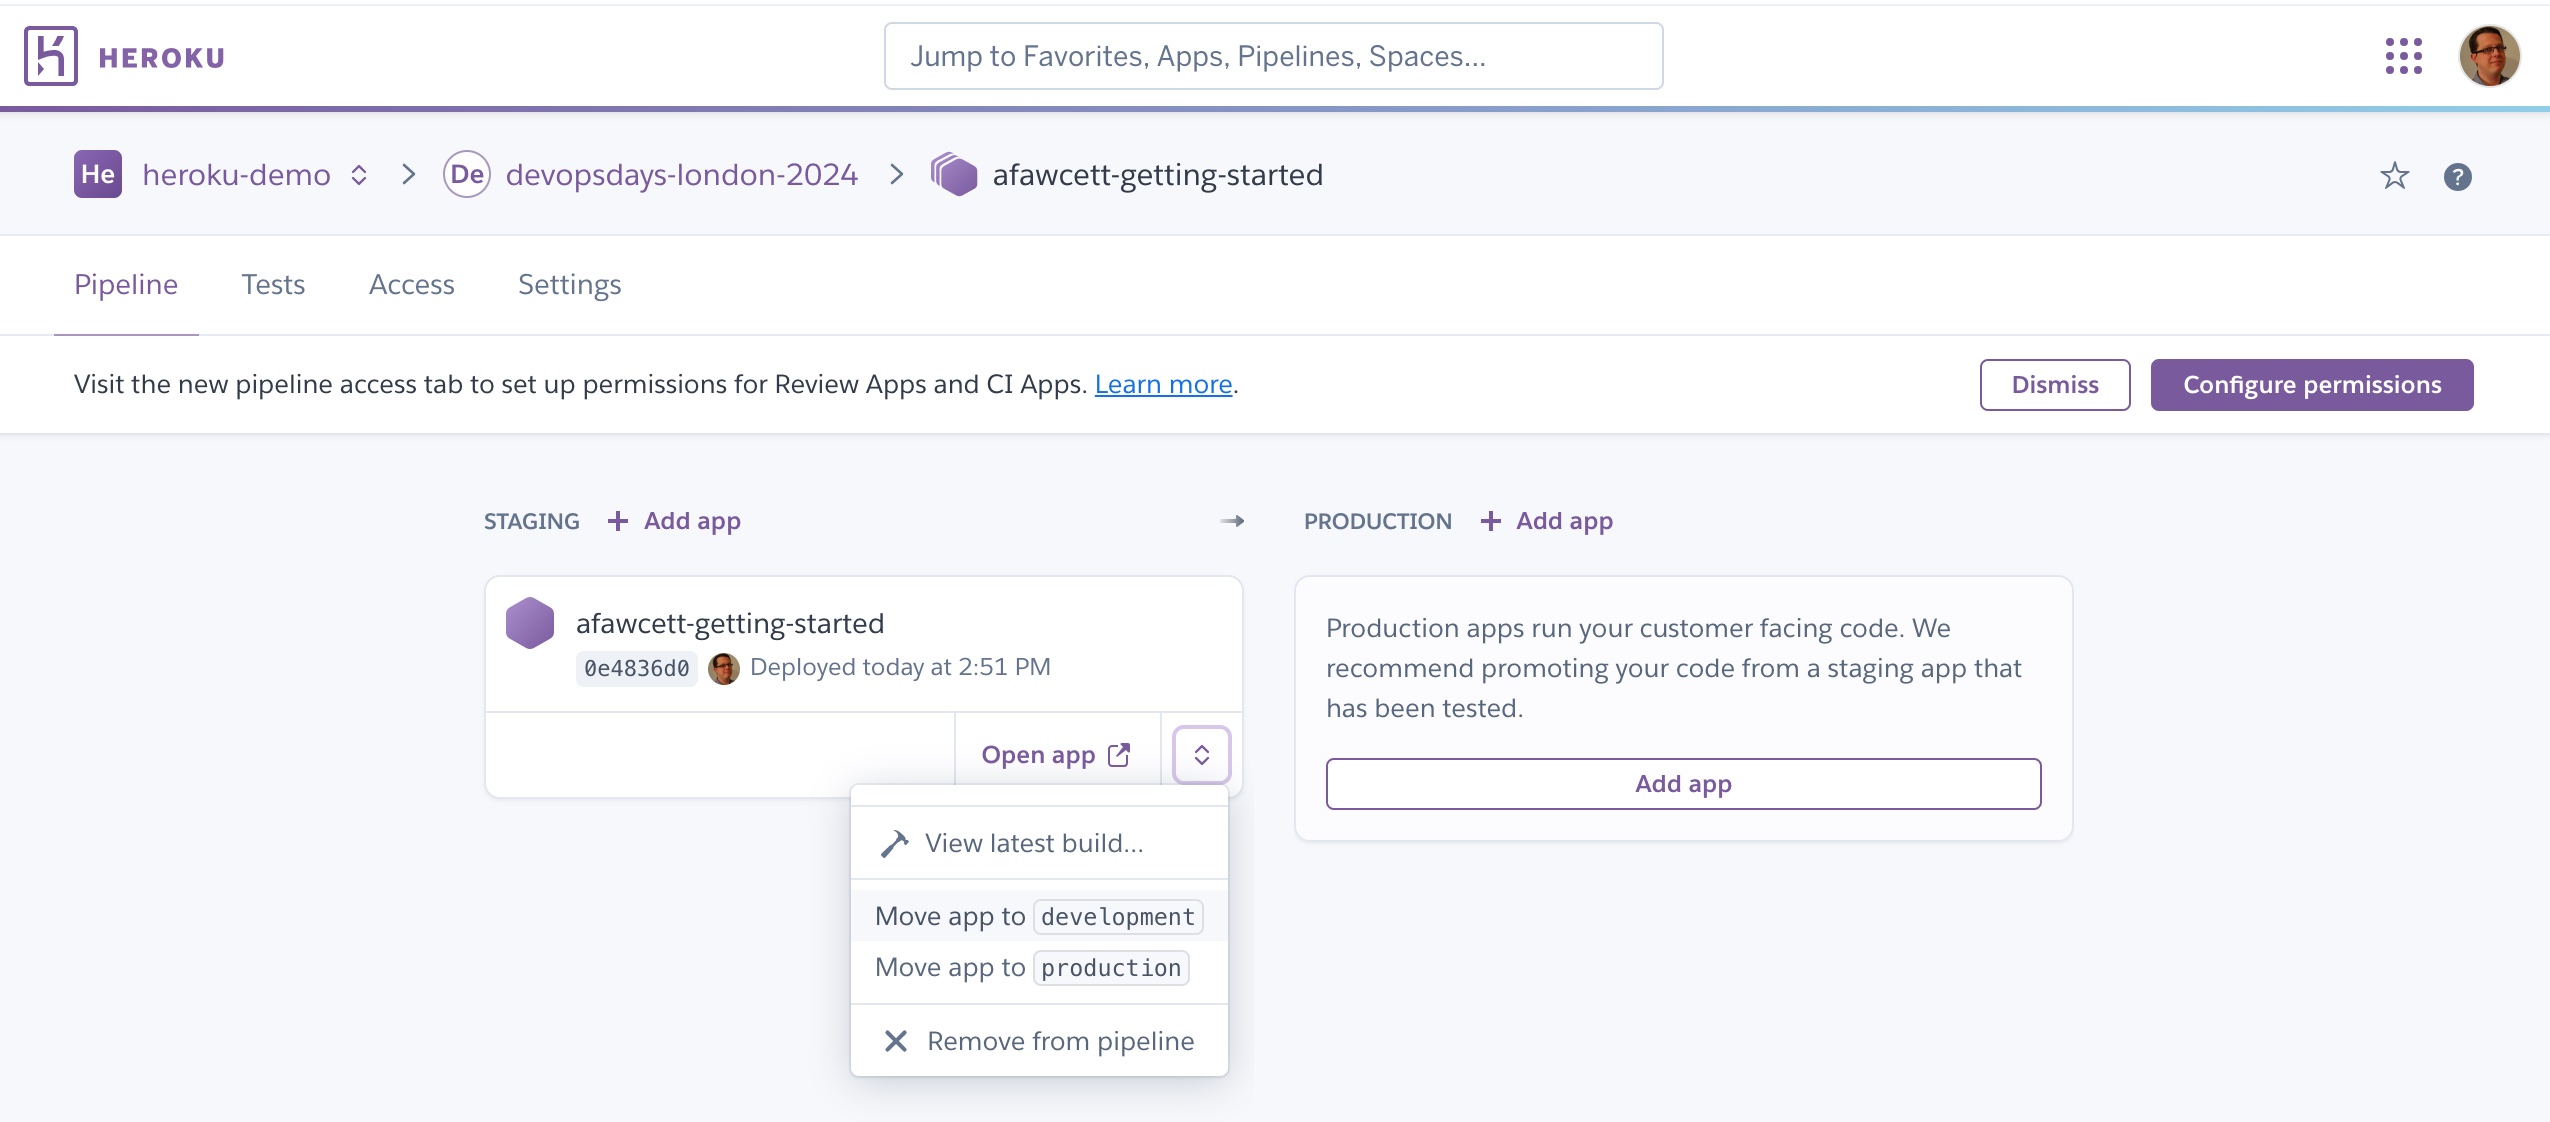
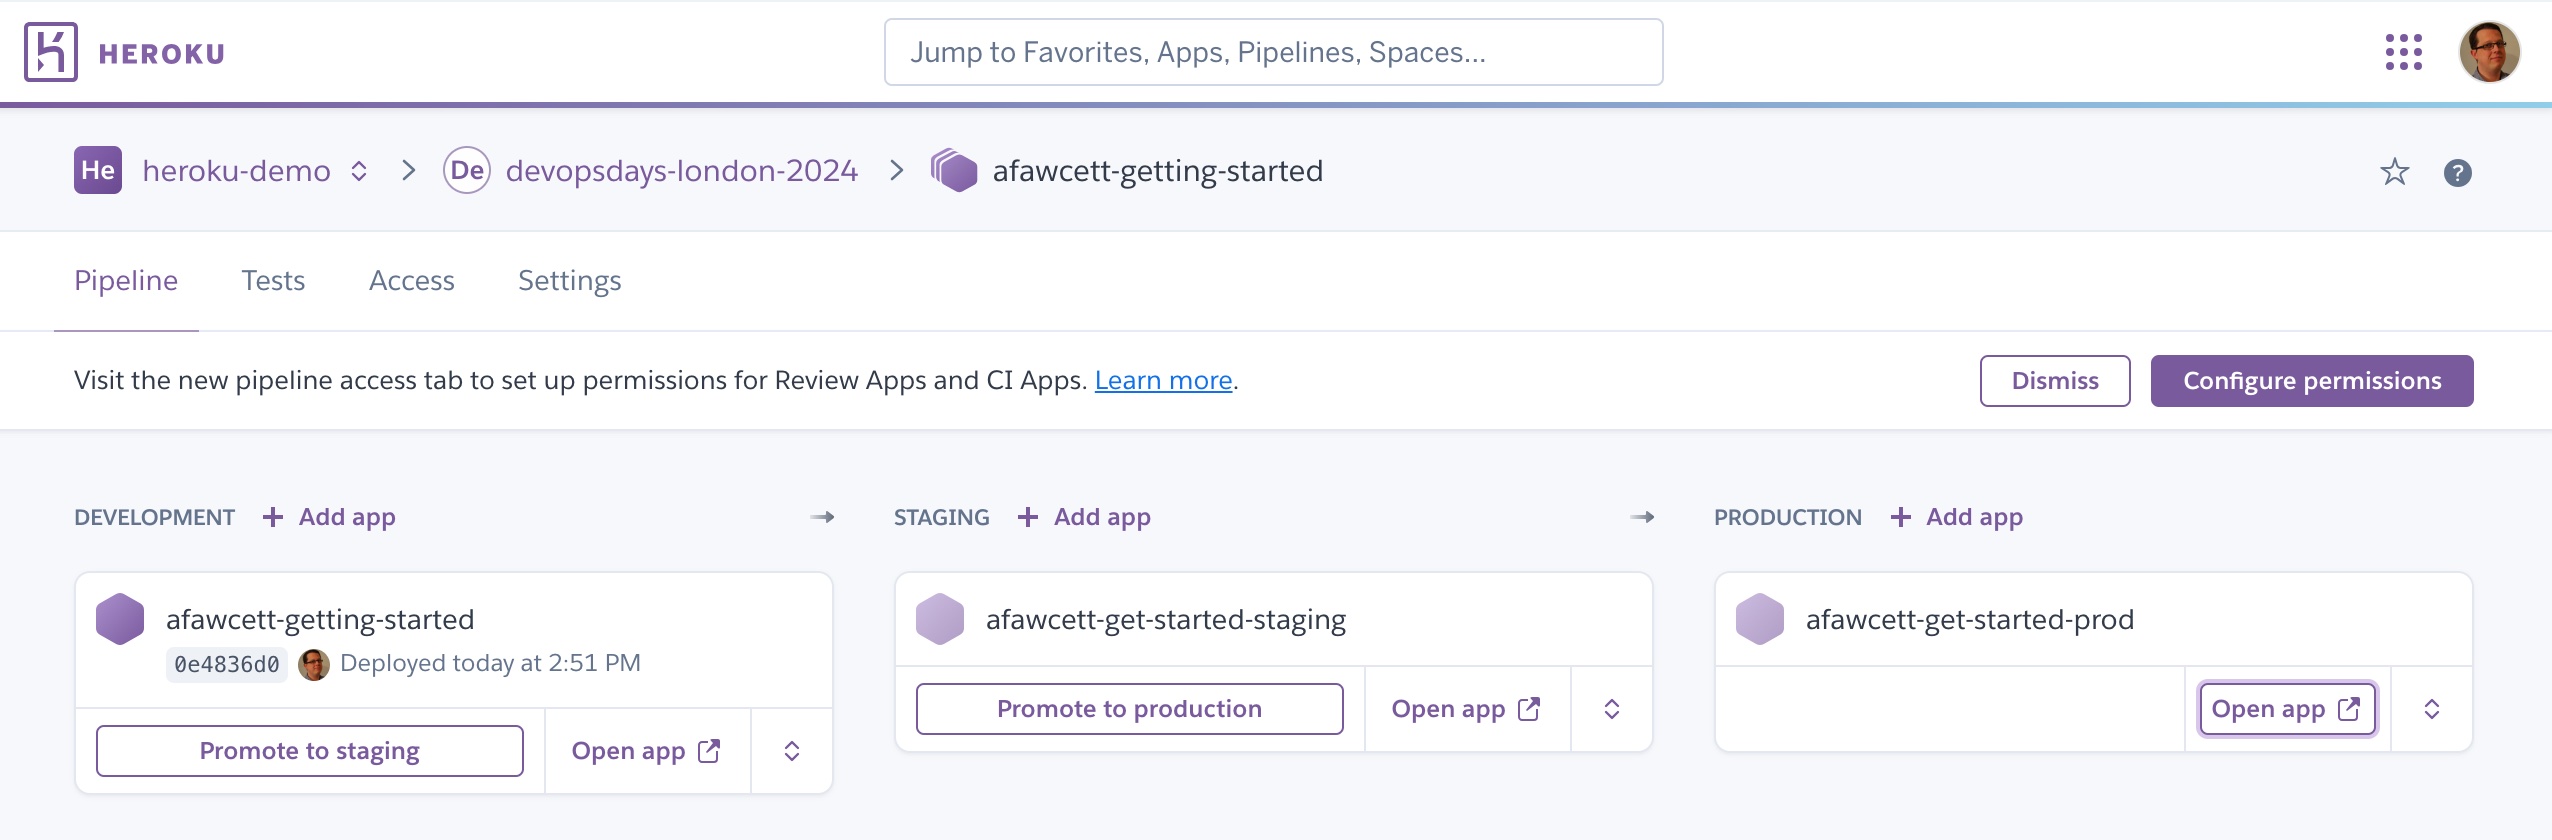
Move your application into the development phase as shown in the screenshot below.
Click Add app for the STAGING stage and enter
<your-app-name>-staging.💡 Tip: You may need to shorten your name to fit within 30 characters.
Repeat this process for the PRODUCTION stage and enter
<your-app-name>-prod. Your pipeline configuration should now look like this:💡 Tip: You may need to shorten your name to fit within 30 characters.
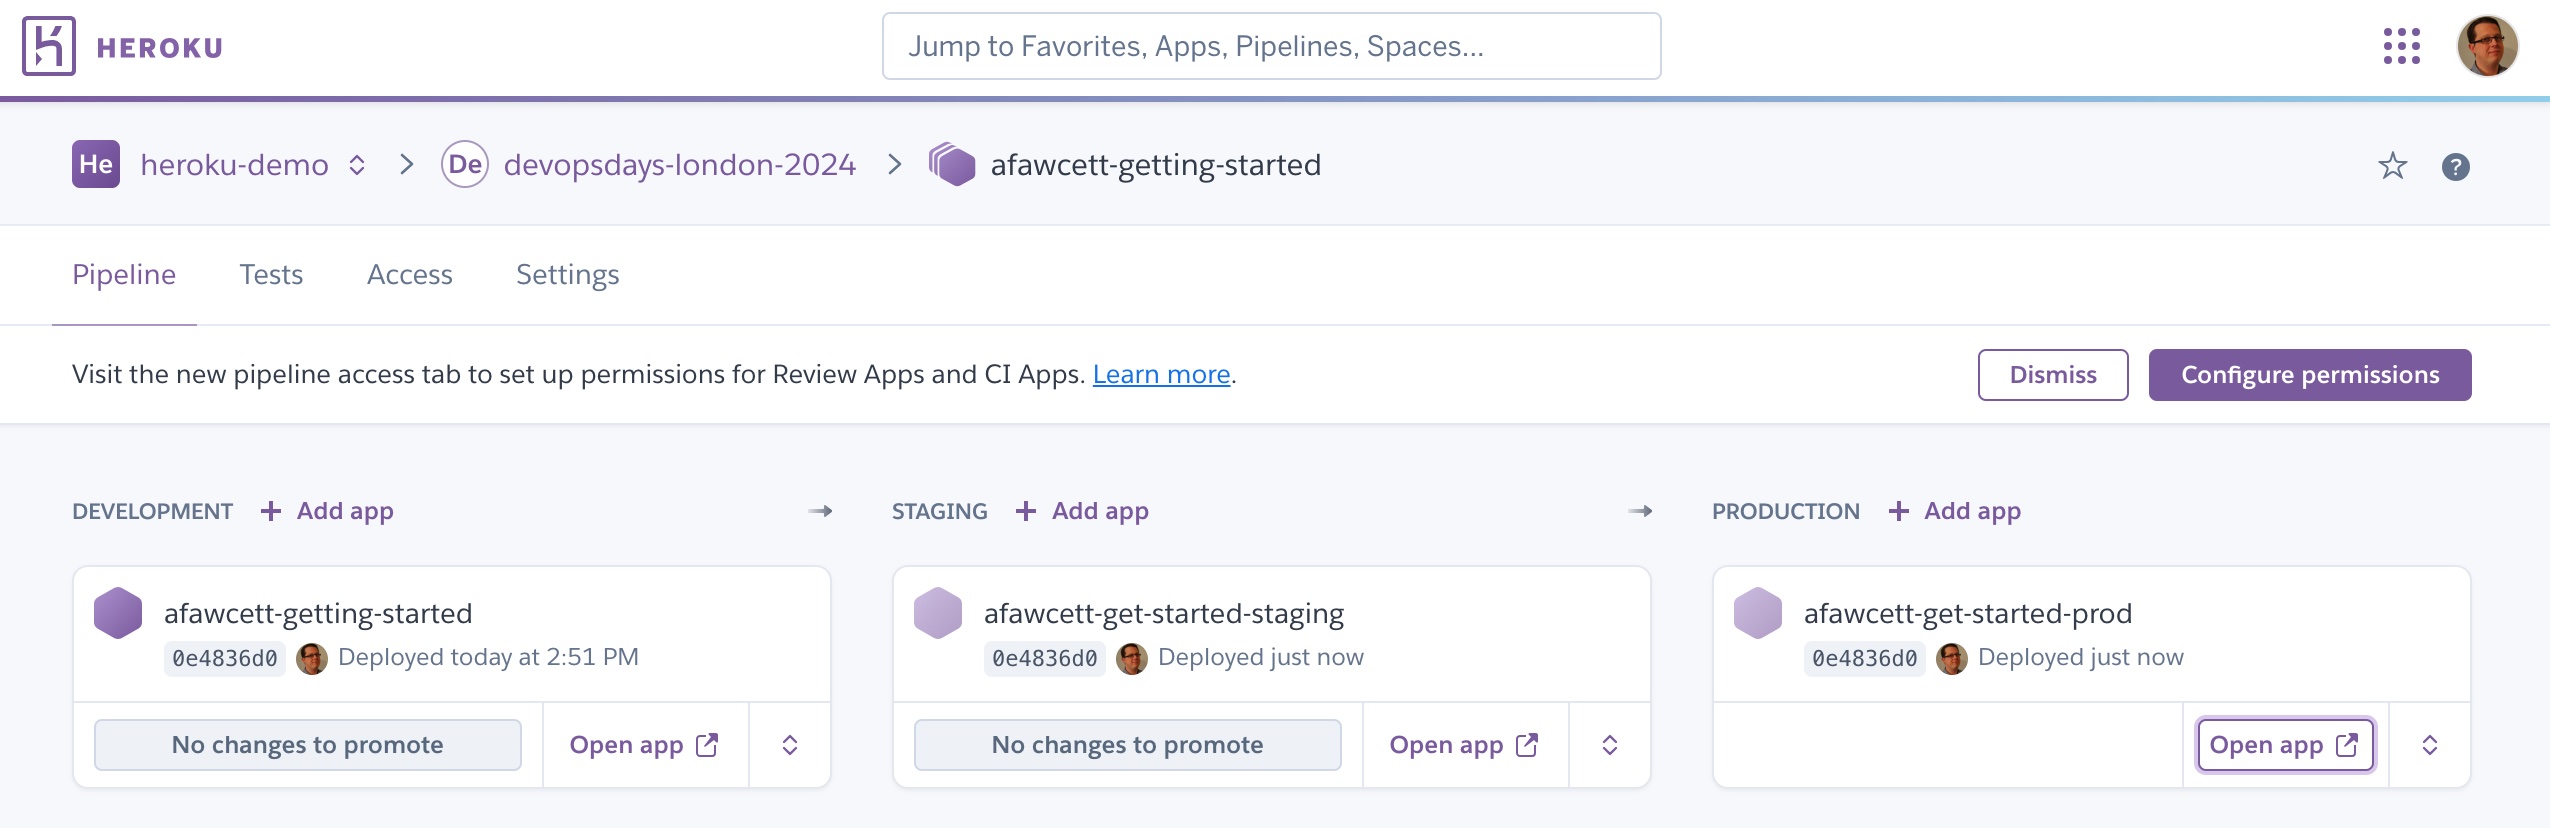
Starting from the left, click Promote to staging, then click Promote to production, and finally click Open app under the PRODUCTION stage to see your application. Your pipeline should look something like this once you have completed moving your application through to production:
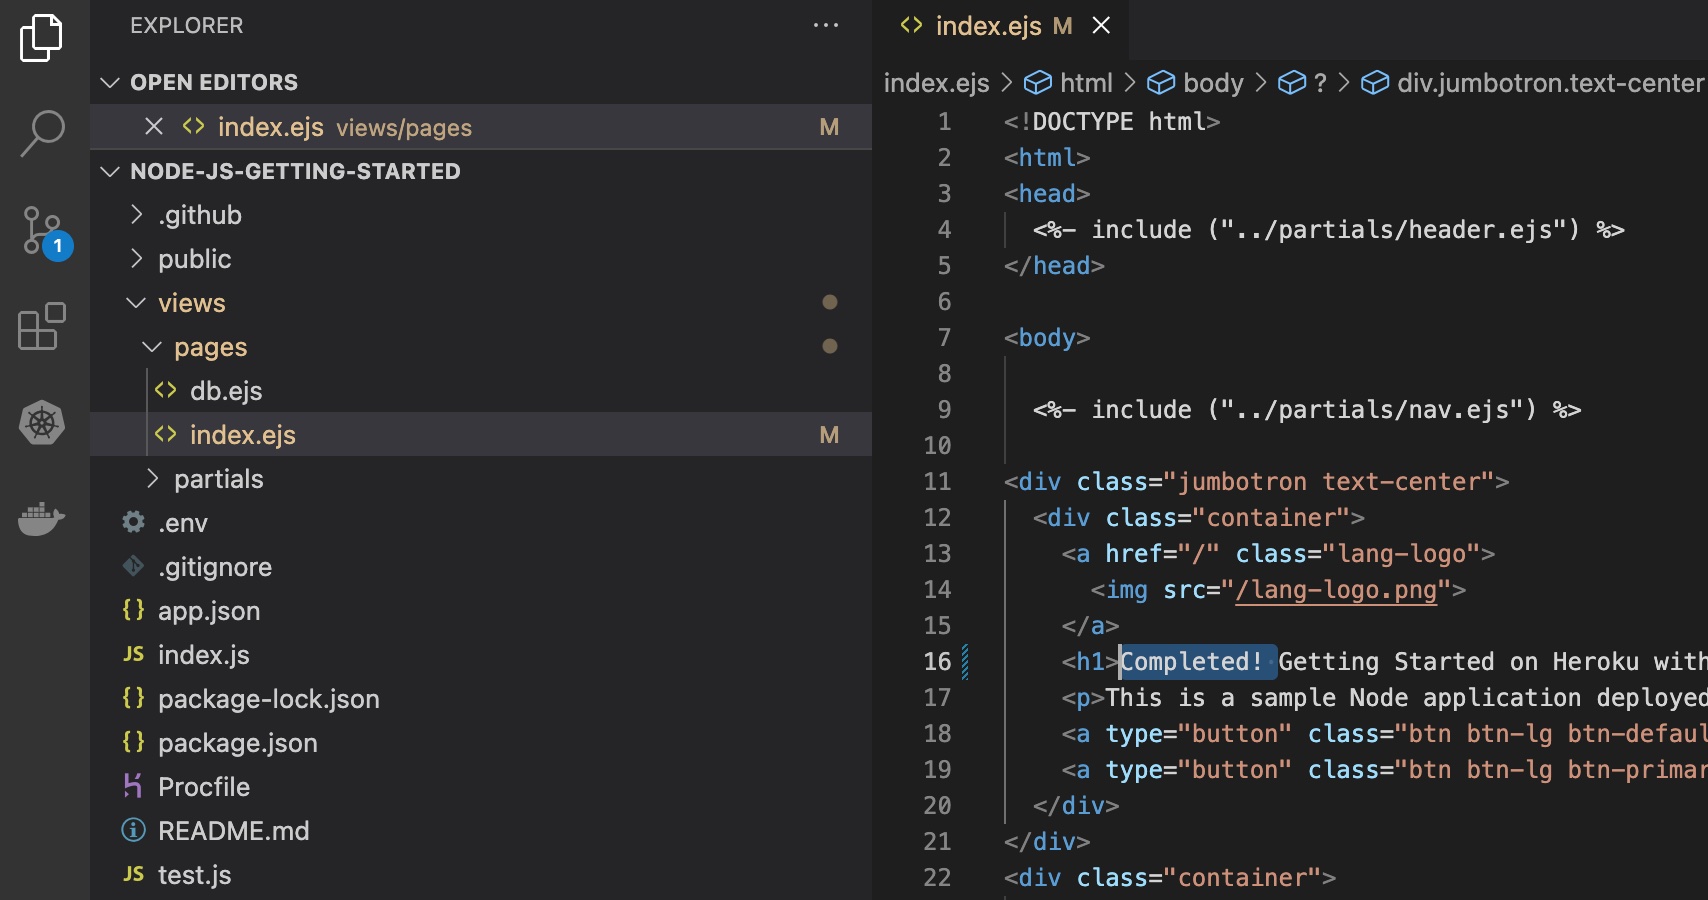
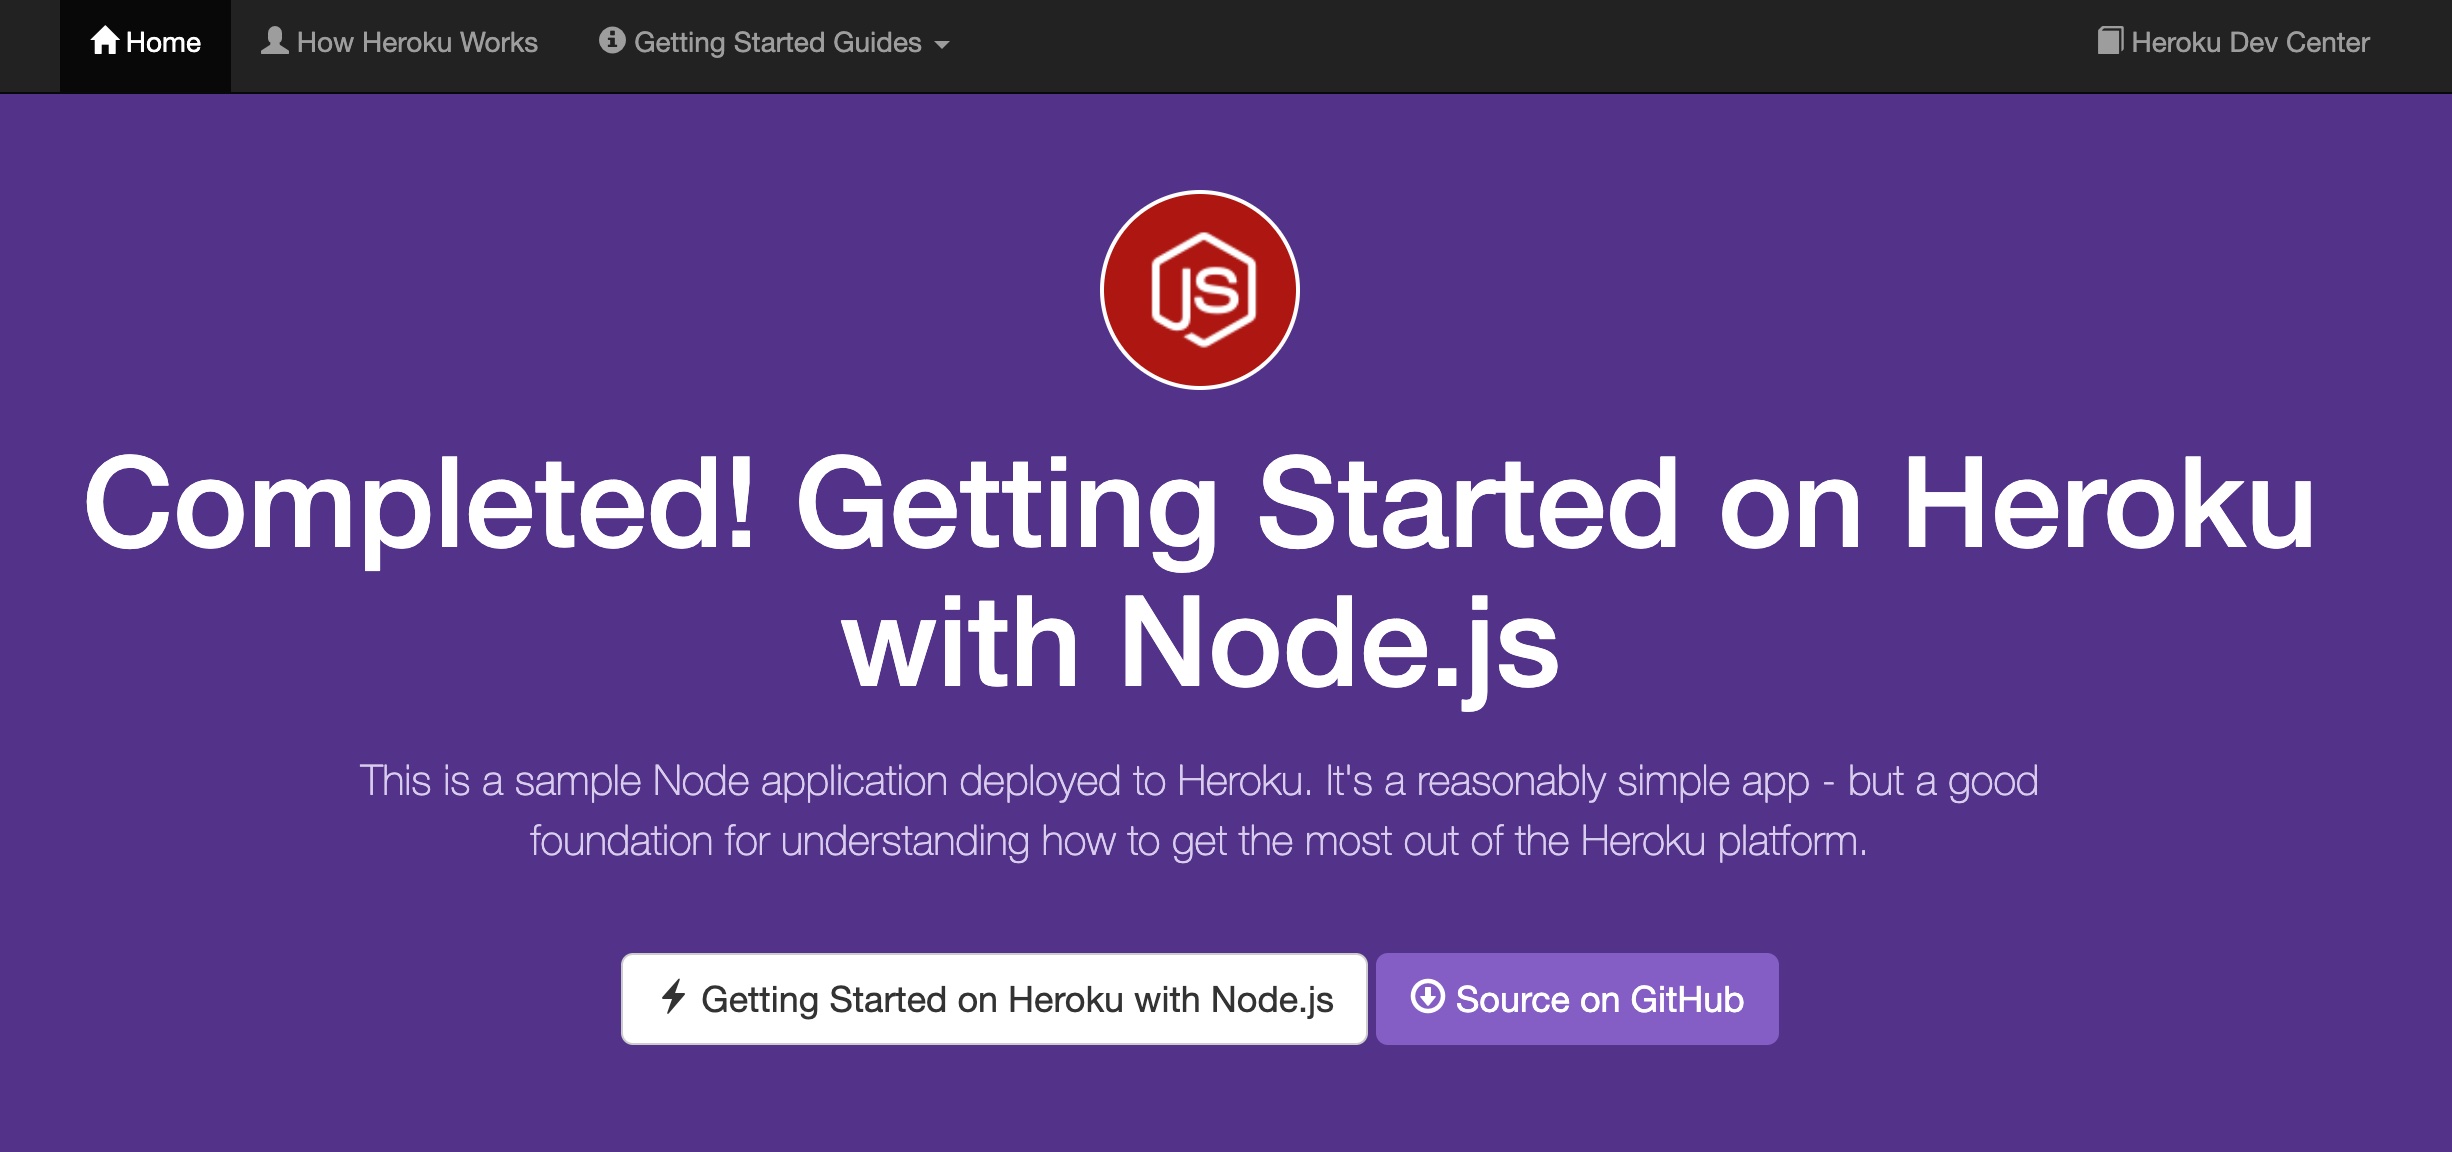
Make an edit to your application (as shown below), commit the changes, and push a new version of your application:
git add .
git commit -m "change"
git push heroku main
Switch back to the dashboard. During deployment, you will see Heroku has noticed a new build! Notice that your production application is still based on your prior version. To promote the new version of your application through to production, repeat the previous steps.
Congratulations! You have successfully set up a basic pipeline in Heroku. To learn more, visit this article. It is also possible to completely automate this setup from the Heroku CLI.
In future workshops, we will explore setting up Heroku CI to run tests and setting up Heroku Review apps to socialize your application while it is in staging with your stakeholders. Please do not attempt to configure these features in this environment.