Integrating the MCP with Your Favorite AI Tool
Each client has its own way of integrating an MCP server. The most common way is to use the mcpServers configuration object. In Cursor you can open the "Cursor Preferences" and navigate to the "MCP" section to add the MCP server. In Claude Code, you can add the MCP server to the ~/.mcp.json file.
To add an MCP server with Codex, you can use the codex mcp add command.
Check the documentation for each client to see how to add an MCP server.
INFO
💡 Take a look at the MCP Client Support Matrix to see which AI tools support MCP and its different features.
Let's take a look at different examples on how to set up a local MCP server using the stdio transport and a remote MCP server using the http transport through tools like mcp-remote.
Local MCP Server using the stdio transport
If the project is on a local folder, use the node command to run the MCP server in stdio mode
{
  "mcpServers": {
    "task-manager": {
      "command": "node",
      "args": ["<PATH_TO_YOUR_PROJECT>/dist/index.js", "stdio"]
    }
  }
}
If the project is deployed to npm you can use npx to run the MCP server.
{
  "mcpServers": {
    "task-manager": {
      "command": "npx",
      "args": ["package-name@version"]
    }
  }
}
Remote MCP Server using the http transport
In the Node.js ecosystem, you can use the mcp-remote package to connect to a remote MCP server.
{
  "mcpServers": {
    "task-manager": {
      "command": "npx",
      "args": ["mcp-remote@latest", "http://localhost:3000/mcp"]
    }
  }
}
WARNING
❗️ Make sure the MCP server is running and accessible at the URL specified in the configuration.
Configuring an MCP Server
You might have notices that the MCP server we built requires the REDIS_URL environment variable to be set. When running locally we are obtaining the URL from the .env file. But other MCP might require you to define the environment variable either in your system environment or in the client configuration.
With the mcpServers object you can pass an env object to the server configuration to set the environment variables.
{
  "mcpServers": {
    "task-manager": {
      "command": "node",
      "args": ["dist/index.js", "stdio"],
      "env": {
        "REDIS_URL": "redis://localhost:6379"
      }
    }
  }
}
Integrating the MCP with Heroku AI
Heroku AI supports MCP servers out of the box, you can attach a stdio MCP server to the Heroku AI add-on and use it with the Agents endpoint.
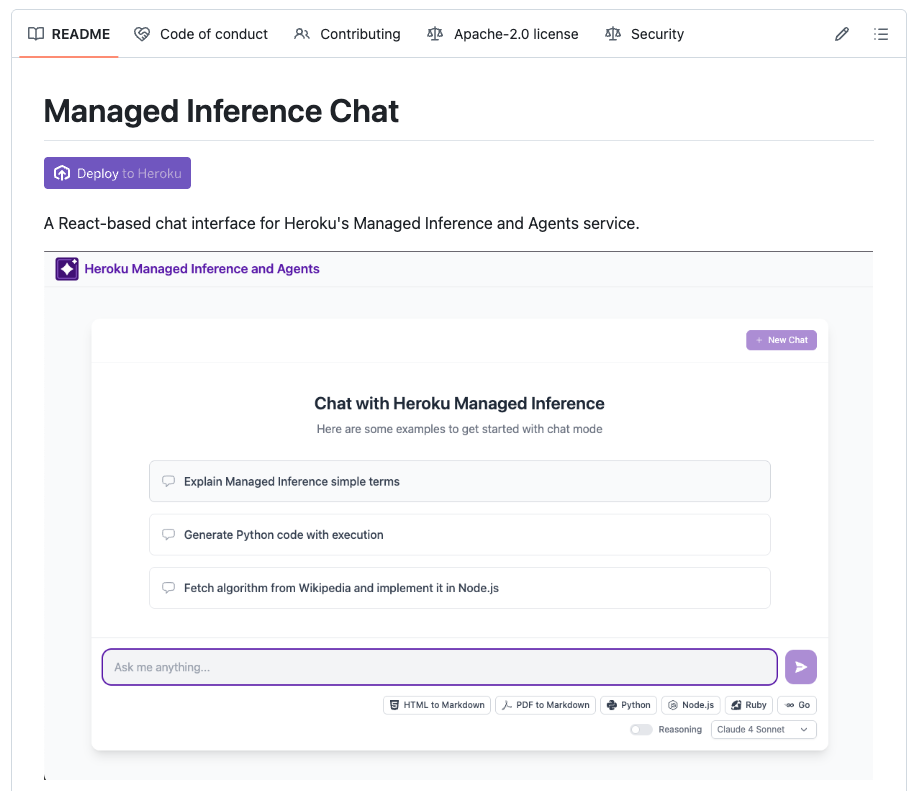
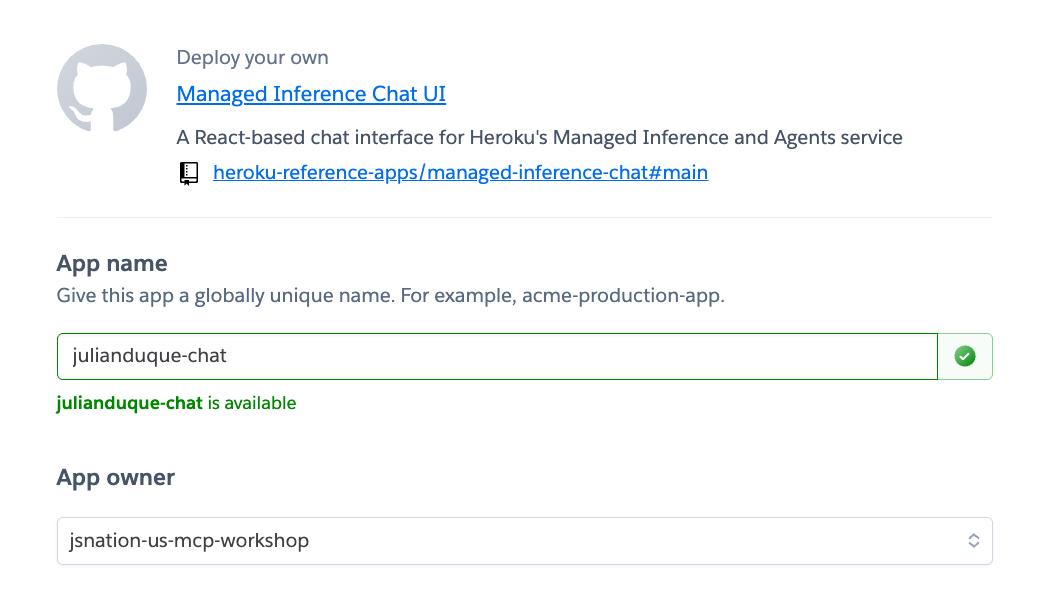
Let's deploy the Heroku Managed Inference Chat sample application and attach the MCP server to it. First, click on the Deploy to Heroku button or deploy manually following the instructions in the repository.
Give it a unique name and select the Heroku team you have been invited to from the App Owner dropdown.
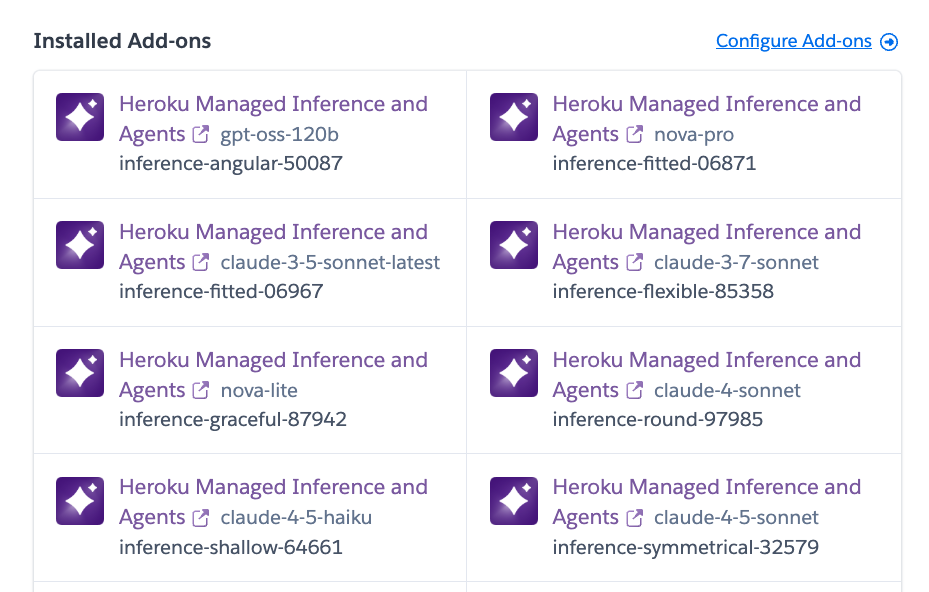
Once deployed, go to the Heroku Dashboard and click on one of the provisioned AI models.
Then we need to attach the MCP server to the model. Click on the Manage MCP Servers link.
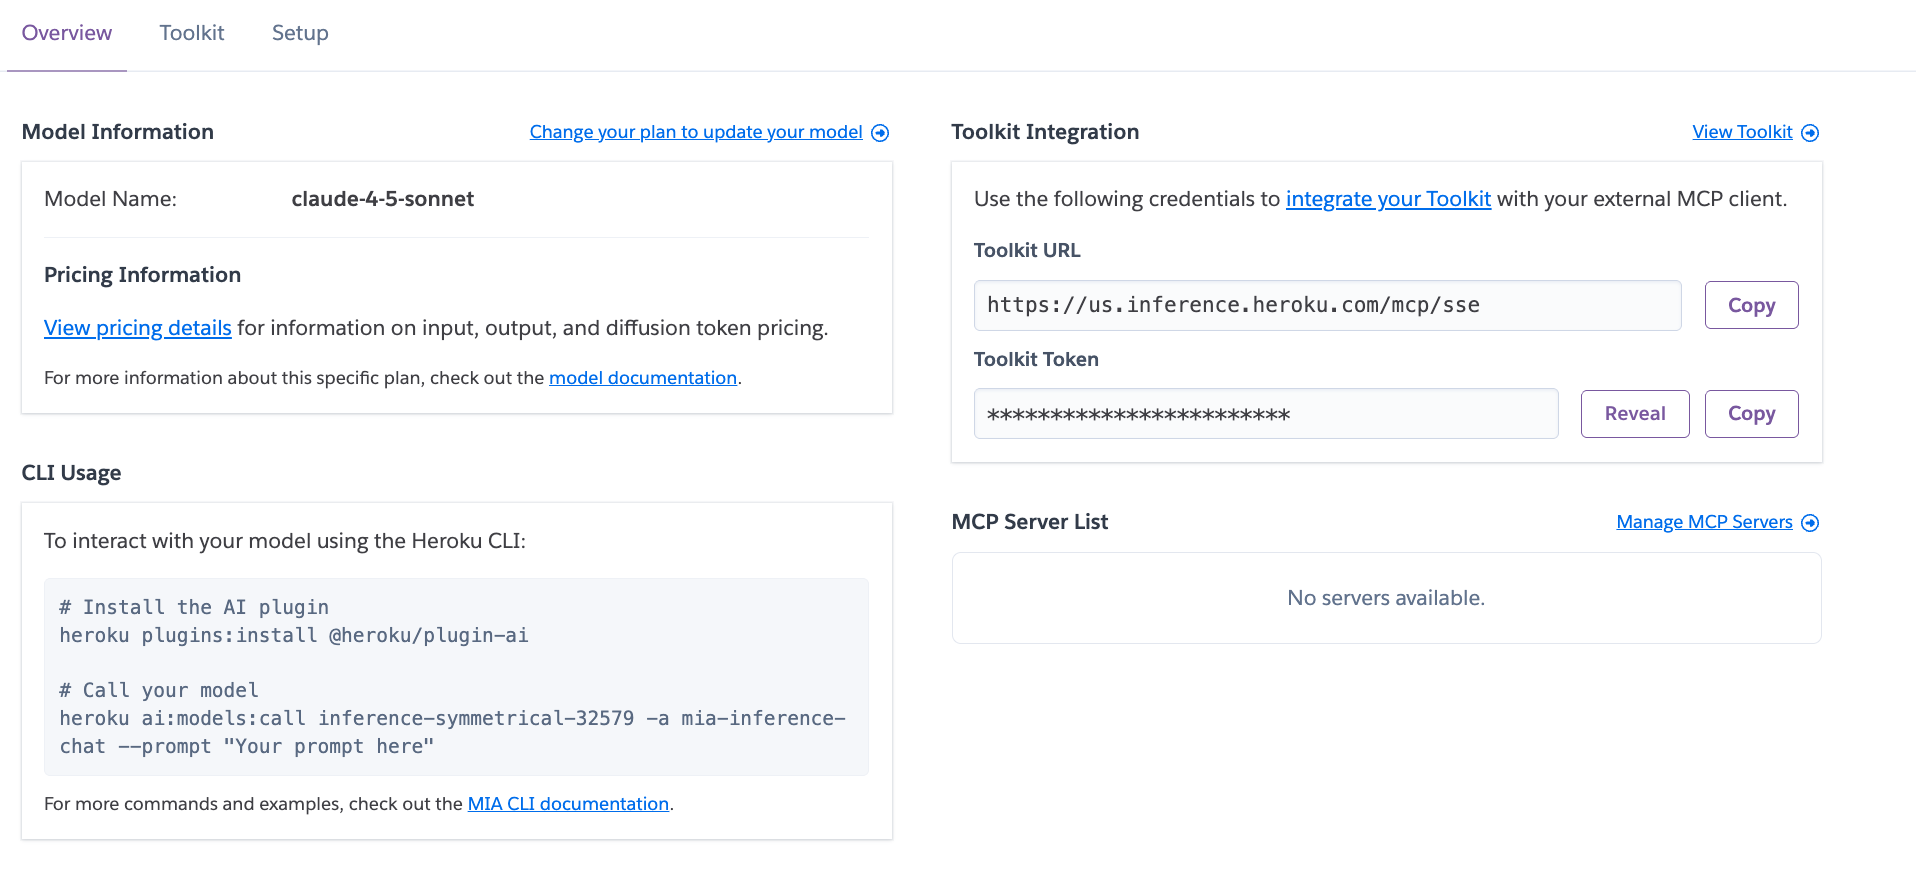
Under Server Registration click on Attach another app and select the MCP server you deployed.
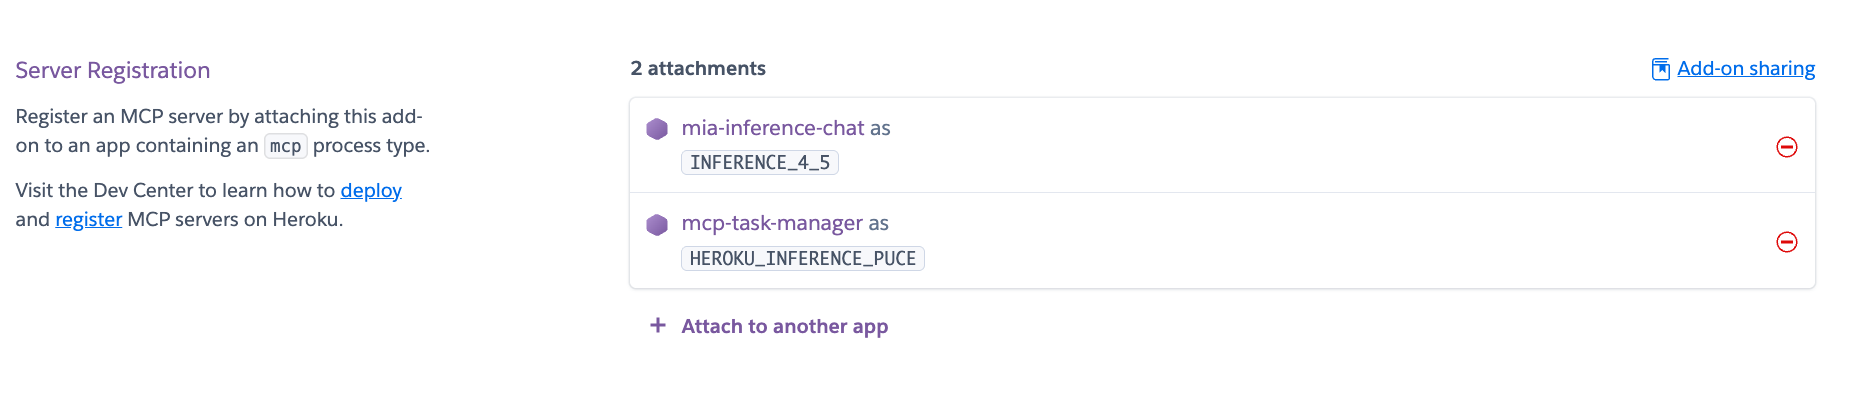
Now go to the Toolkits tab and see the MCP server and its tools.
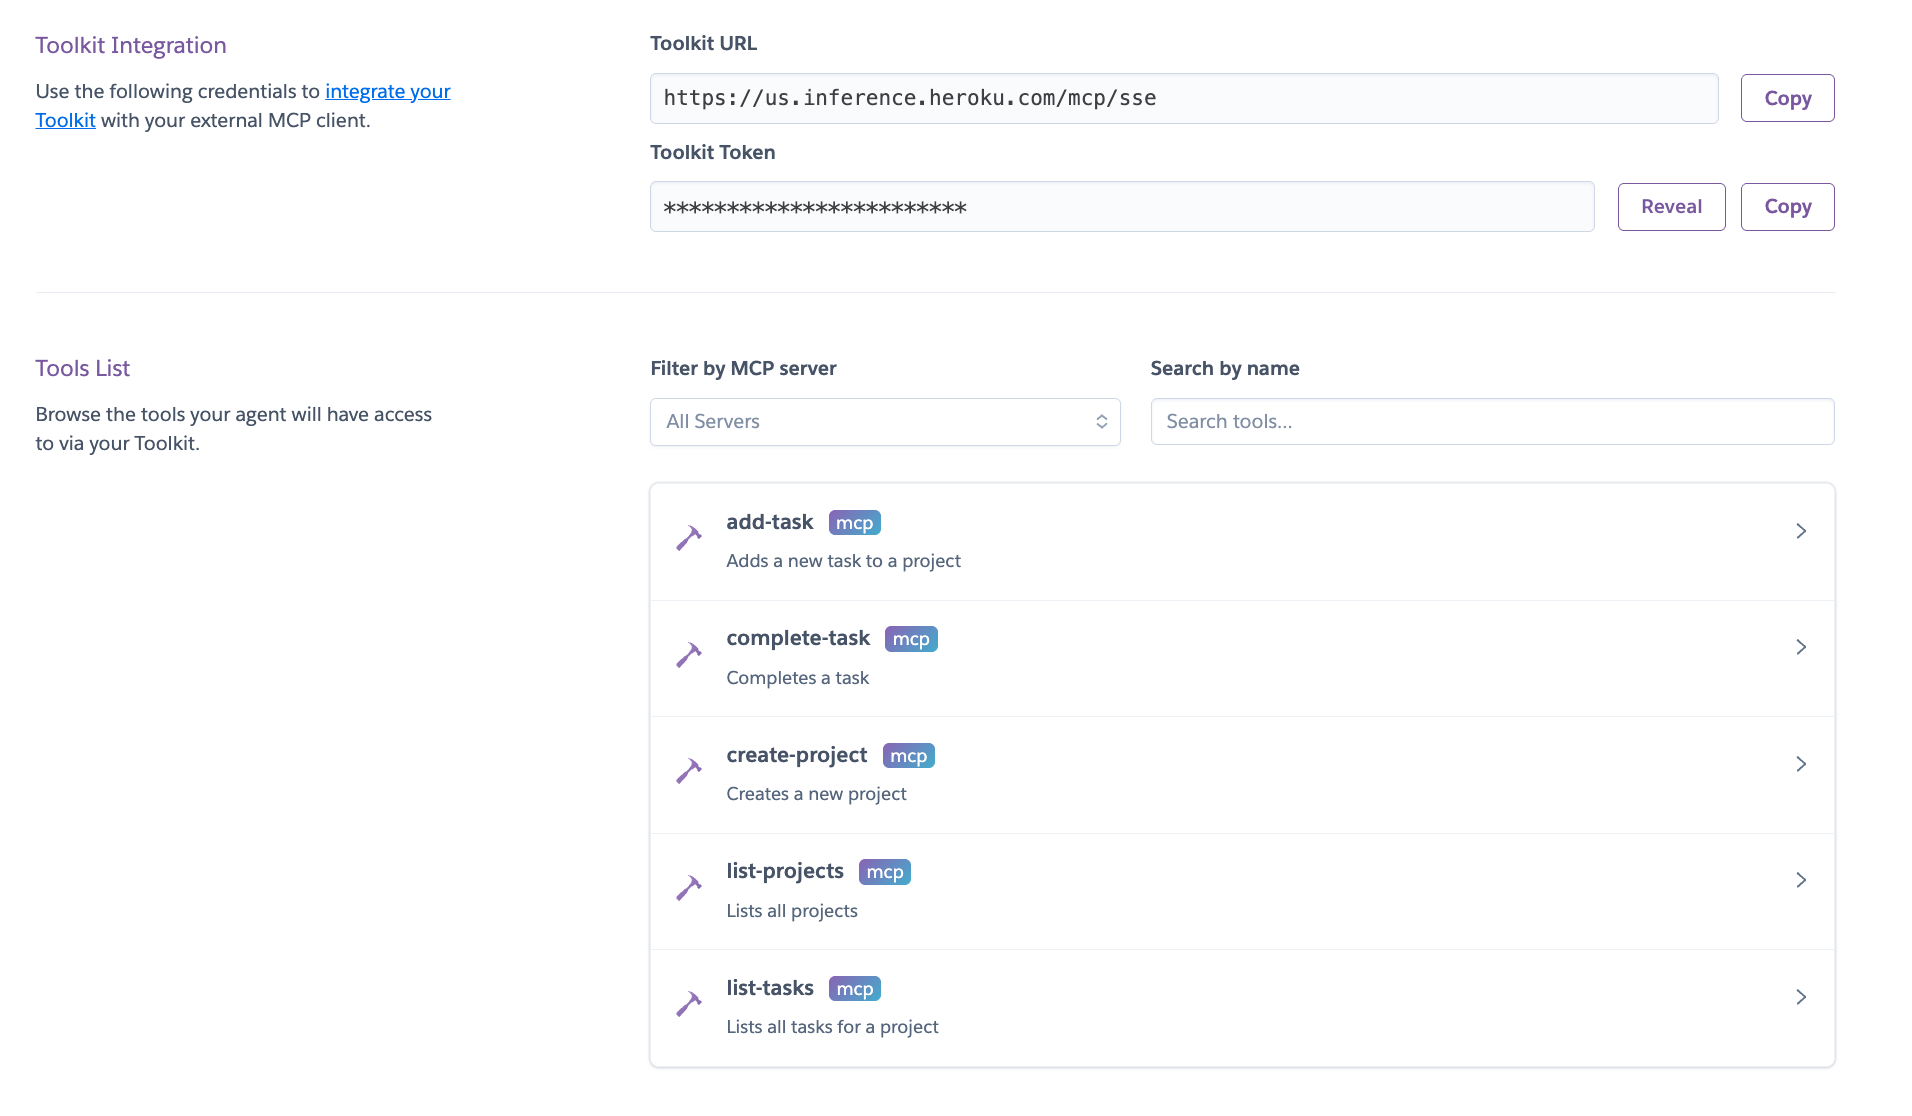
INFO
ℹ️ The Toolkit URL and the Toolkit Token can be used to access the MCP server remotely from any tool that supports HTTP MCPs like mcp-remote using Authorization headers.
Now, let's go to the deployed Heroku Managed Inference Chat application and try to use the MCP server.
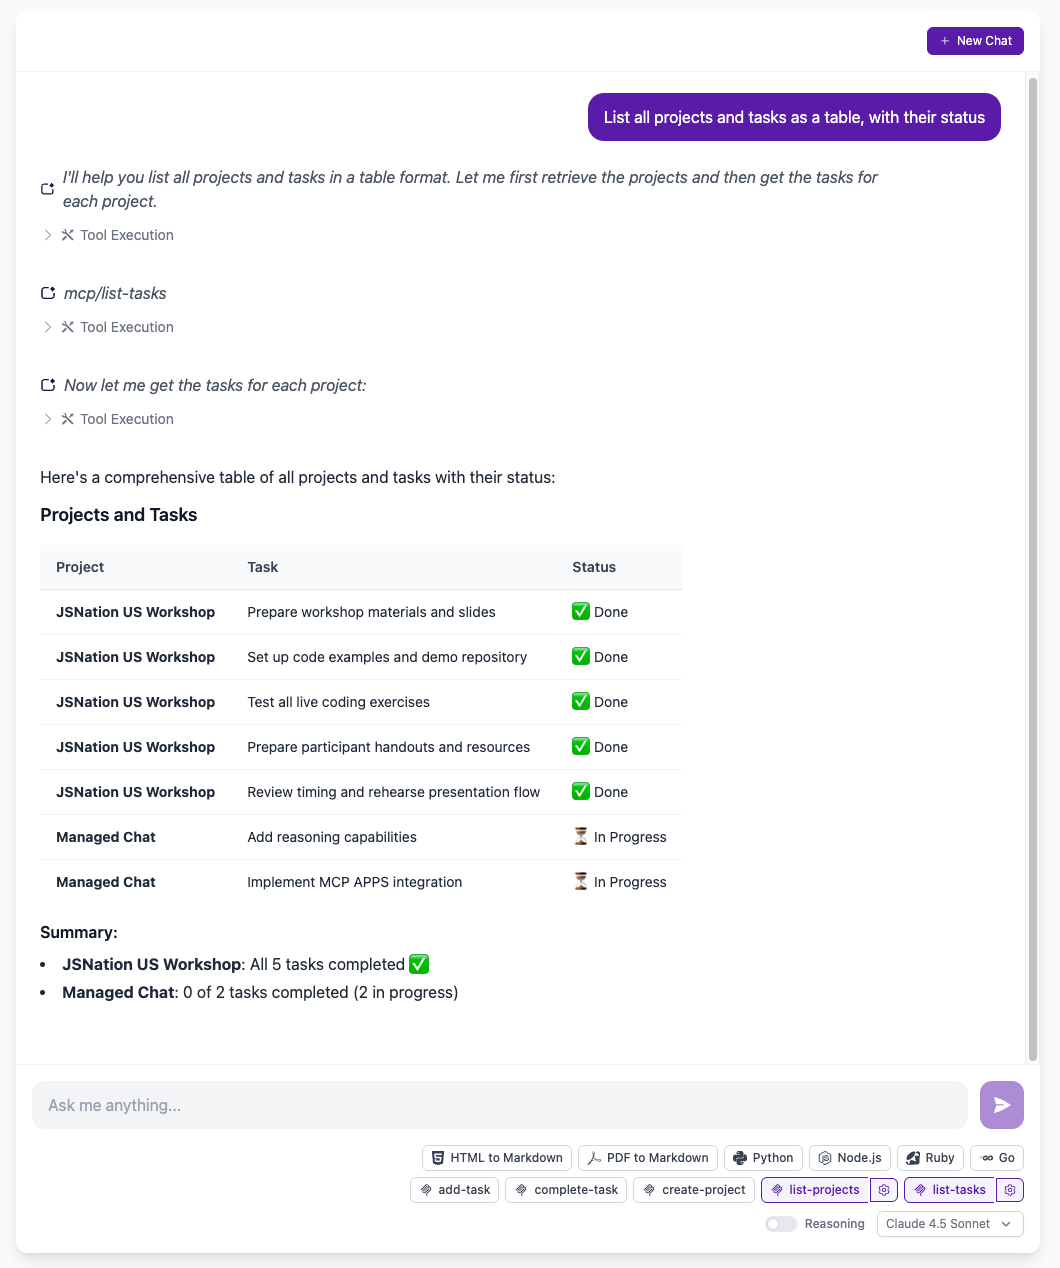
You can ask the agent to use the tools to create a new project and tasks and see the results in the chat. Try it out!